Are you interested in learning how to mill wheat at home to make homemade flour? This article will tell you all you need to get started milling/grinding your own wheat.

Jump to:
You may already be aware of the many benefits of grinding flour at home to use in all your baked goods. Besides the many health benefits, the flavor is so much better than stripped down all purpose flour, or store bought whole wheat flour.
Milling wheat to make your own flour at home can sound like a daunting task at first, but with the right equipment and knowledge we are sure you will have great success.
Pick Your Grain Mill
Milling your own wheat starts with choosing a grain mill, this post goes over many different grain mill types and their features.
A quick overview of home grain mills. There are two types we recommend for home use, impact mills and stone mills. They are both great, it just depends on your personal preference and what you want to do with your mill. Stone mills are capable of making a wider variety of flour sizes from cracked grain to fine flour. Impact mills in our opinion are capable of making flour that is just a little finer textured, especially when it comes to grinding soft white wheat..
Choose Your Grain
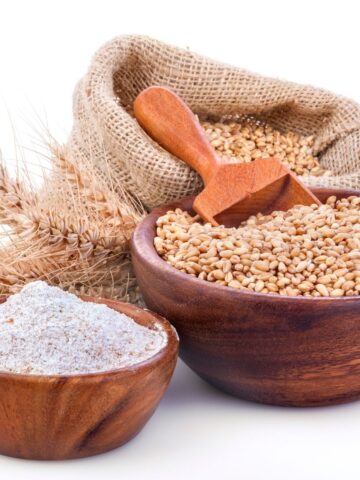
Second, is to choose your grain. This will be based on your needs and what you will be making. We recommend starting with just one or two kinds at first. Hard white wheat and soft white wheat would be great options to get started with. Hard white wheat is great for yeast breads, but also makes great muffins, cookies, and some cakes. Soft white wheat is not suitable for yeast breads, but makes great muffins, cakes, cookies and anything leavened with baking powder or baking soda.
Check out this post that goes over the different types of wheat and their uses.
You’ll want to check the grain to make sure it is clean and doesn’t have any small rocks or foreign debris in it (rocks can ruin your mill). Most grain sold for human consumption has been cleaned multiple times, but it’s always a good idea to double check. If you find anything just pick it out.
You can mill other grains in your grain mill besides wheat. Check the owner's manual that comes with your grain mill to see which grains you can mill into flour. Some of them are:
- Oat groats
- Popcorn (only in some mills)
- Dent corn
- Buckwheat
- Millet
- Quinoa
- Rye
- Barley
- Rice
Milling The Flour
Now that you have your mill and your grain, let's go over the basics of milling. Milling is the process of grinding or crushing wheat seeds, or berries as they are called, into flour.
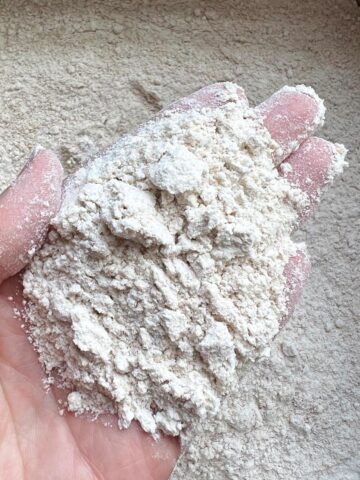
To mill the flour, measure out your desired amount of grain, turn on the machine and pour it into the top, or hopper of the machine, it will go through the milling mechanism and magically, flour will come out and go into the catch bin or bowl of some kind. The flour may be warm to the touch after it comes out of the machine. It is best to let it cool before using in most recipes, especially pie crust and cookies, placing it into the refrigerator or freezer will speed up the process.
Using weight measurements will give you the most accurate results in baking and deciding how much wheat you need to mill.
The list below will tell you how much 1 cup of flour weighs in grams for each type of wheat. You will need the same amount, in weight, of wheat berries that you need flour. If your recipe calls for 1½ cups of hard white wheat flour you will do a little calculation (1.5 x 128 = 192). Or hopefully your recipes list weights like all our recipes do.
- Hard white wheat = 128 grams
- Soft white wheat = 120 grams
- Hard red wheat = 136 grams
- Spelt = 120 grams
- Durum = 140 grams
- Khorasan/Kamut = 136 grams
Grain can be milled into very fine flour for pastries and cakes or a little more coarse for bread, crackers or cornbread. Depending on the mill you choose, grain can also be cracked for cereal or grits.
For 99% of uses you want your mill set on the finest setting. Impact mills are simple to use with fewer settings. Stone mills require a bit of learning and experimenting to get the stones set to make finely milled flour.
Always check the owner’s manual of your grain mill to see precise operating instructions.
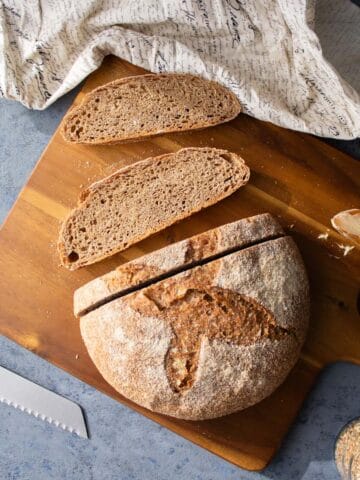
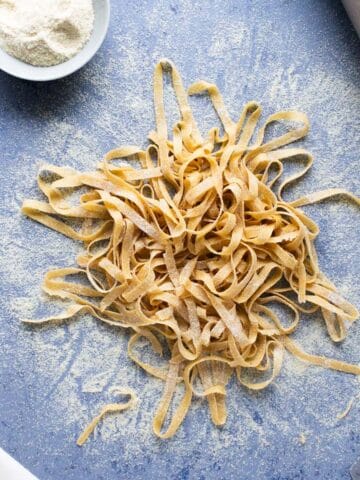
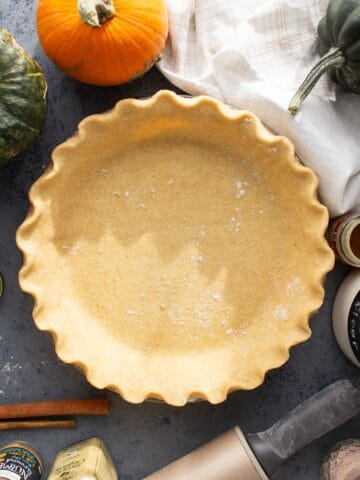
Fresh Ground Flour Recipes
How to Store Homemade Flour
Once the flour is milled it can be used immediately, or put into an airtight container and stored in the pantry for a couple of days. It can also be stored in the refrigerator or freezer for longer storage. Putting it in the freezer or refrigerator helps it to retain the nutrients that whole wheat contains.
To get the most nutrients from whole wheat flour it is best to mill flour as you need it. Naturally, after flour is milled, it begins to oxidize and lose nutrients. Think of it like an apple or a potato that starts to turn brown after cutting.
How To Store Wheat Berries
Wheat berries should be stored in a cool, dry place. Storing wheat in buckets, bins or glass jars with tight fitting lids is the best option. Store it away from mice, bugs or moisture. There is no need to refrigerate or freeze it.
For long term storage you will want to store it in an airtight container, such as a bucket with an airtight lid, with oxygen absorbers inside.
More Whole Wheat Resources
We hope this article helps you get started grinding your own flour at home. You can check out our recipe section for lots of recipes using your fresh ground flour. If you have any questions you can leave a comment here or send us an email.
Happy milling!






Did you make this recipe? We would love to hear from you!