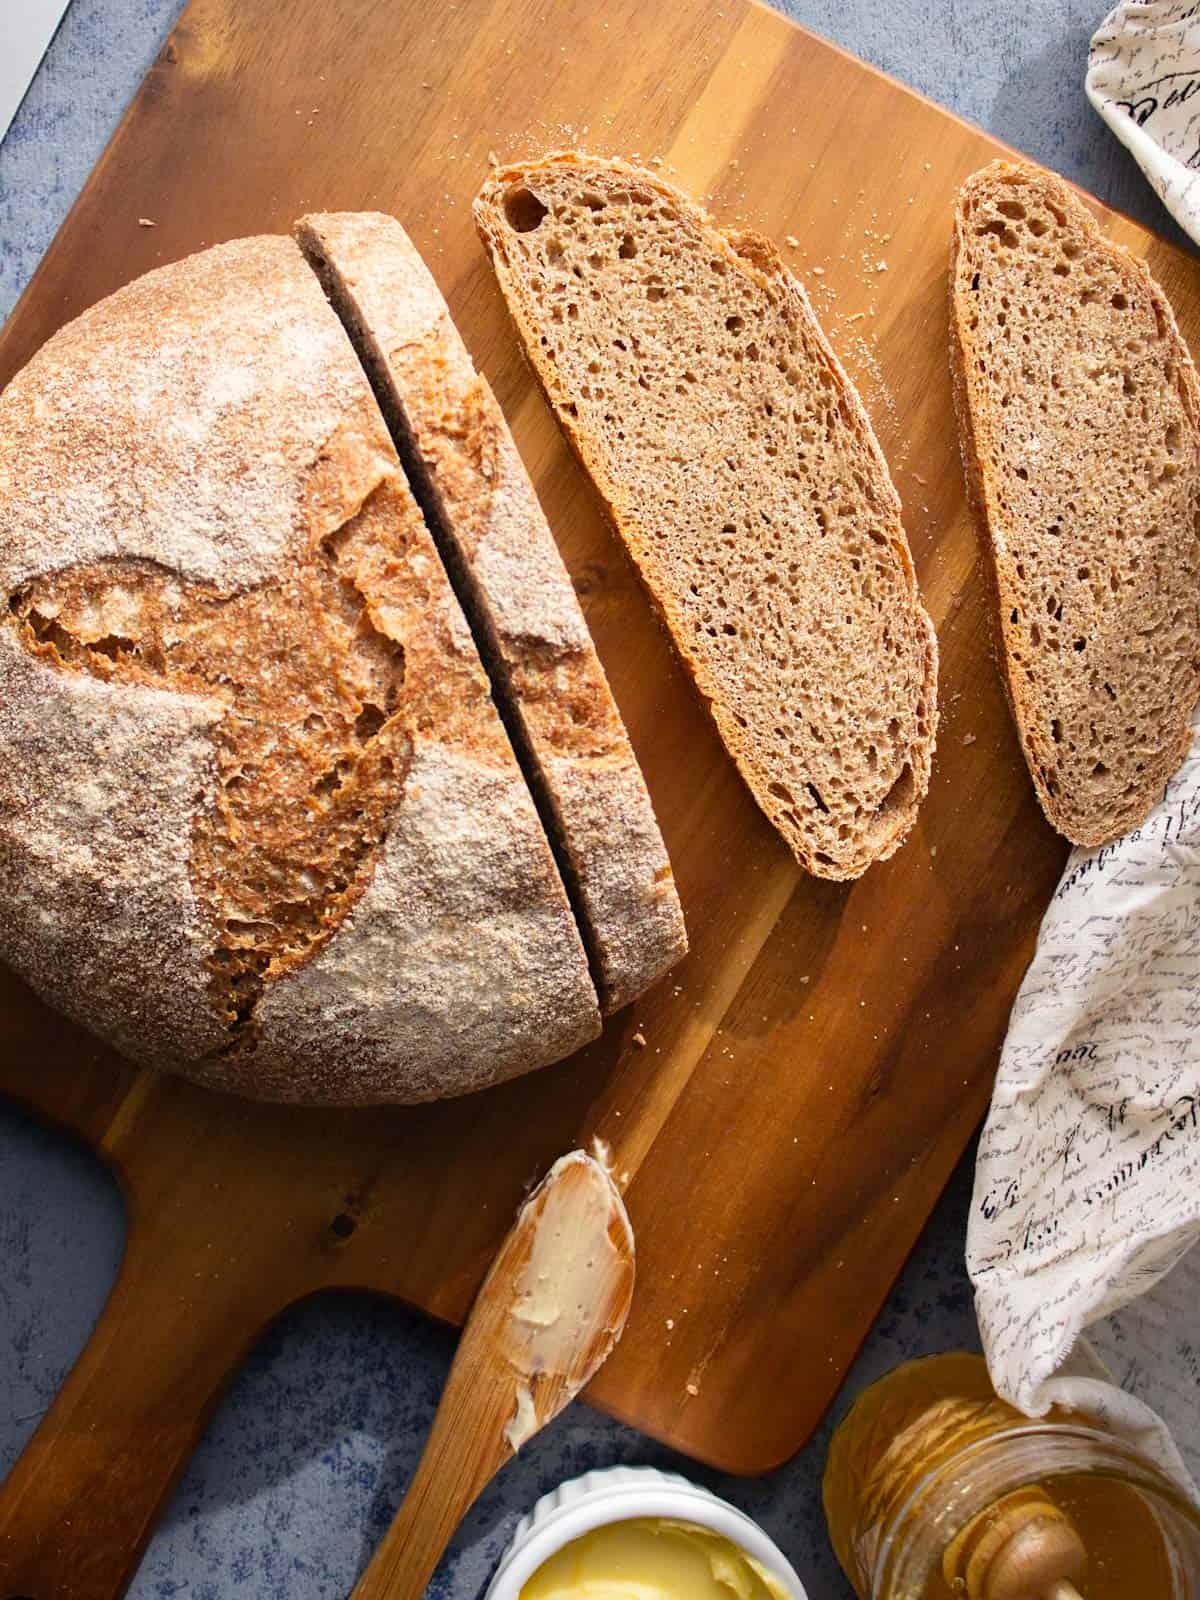
This rustic whole wheat Dutch oven bread is made with only 4 ingredients. The dough is made with a folding method to develop the gluten and make the bread lighter and more airy. No mixer required, and it can be made all in one day.
Jump to:
This crusty whole wheat bread has become a favorite in our kitchens. It does take longer to make than whole wheat sandwich bread, but it is a little more forgiving (if you’re new to baking with whole wheat flour).
This hearty, bakery style artisan bread is made with only a few simple ingredients. It is great for sandwiches, toasting, dipping in soup, garlic toast and more.
What's Cool About This Recipe
- No mixer needed: We use what is called folding to develop the gluten in this bread, and give it a light and airy crumb.
- No overnight rise required: Unlike other artisan breads that require an overnight rise, this bread can be made all in one day.
- Therapeutic: We think there is something therapeutic about making this bread, something about working with the dough and watching it turn into something beautiful and delicious.
Ingredients and Substitutions

- Whole wheat flour: We use flour milled from hard red wheat or hard white wheat. Fresh milled flour or high quality pre-milled flour like this whole kernel flour from Janie’s Mill will give you the best results.
- Instant yeast: This recipe uses instant yeast, also known as rapid rise or fast acting. You could use active dry yeast, just be sure to let it activate in the water for 5-10 minutes.
- Salt: This is crucial to the flavor of the bread, it will be bland without it.
- Water: Nothing fancy here, just whatever water you use for baking.
See recipe card for quantities.
Variations
- You can experiment with using a blend of different types of flour, such as hard white, spelt and Kamut for a unique flavor profile.
Instruction Photos
Overview of instructions with photos. See recipe card for quantities and full instructions.

Step 1: In a large mixing bowl dissolve the yeast and salt in the warm water.

Step 2: Add the flour and stir until combined and no dry flour remains.

Step 3: Cover and let rest for 30 minutes.

Step 4: Do a stretch and fold (directions below), cover and let rest for 30 minutes.
How To Stretch and Fold Bread Dough

With slightly wet fingertips, reach down the side of the bowl, grab a chunk of the dough and pull it up and into the center of the dough.

Turn the bowl one quarter turn and repeat. Continue until you come full circle twice.

Step 5: Repeat step 4 two more times. The dough should be jiggly and airy by the end.

Step 6: Do one more stretch and fold. Then turn the dough out onto a lightly floured surface, shape the dough into a ball by pulling the edges into the center, similar to stretch and fold.

Step 7: Turn the dough ball over, place on the counter and use your palms to drag the dough ball toward you, turn the dough a quarter turn and repeat. Keep going until the top of the dough is tightened and you have a nice ball of dough.

Step 8: Place the dough into an oiled container, cover and let rise until doubled in size, about 2-3 hours.

Step 9: Turn the dough out onto a lightly floured surface and shape into a ball using the same method as steps 6 and 7. Handle the dough gently so you don’t deflate all the air pockets you’ve spent so much time creating.

Step 10: Place the dough on a large piece of parchment paper, cover loosely with a tea towel plastic wrap, or use an upside down large bowl.

Step 11: Place a 6-8 quart dutch oven or cast iron pan fitted with a lid in the oven on the center rack. Preheat the oven to 425°F.
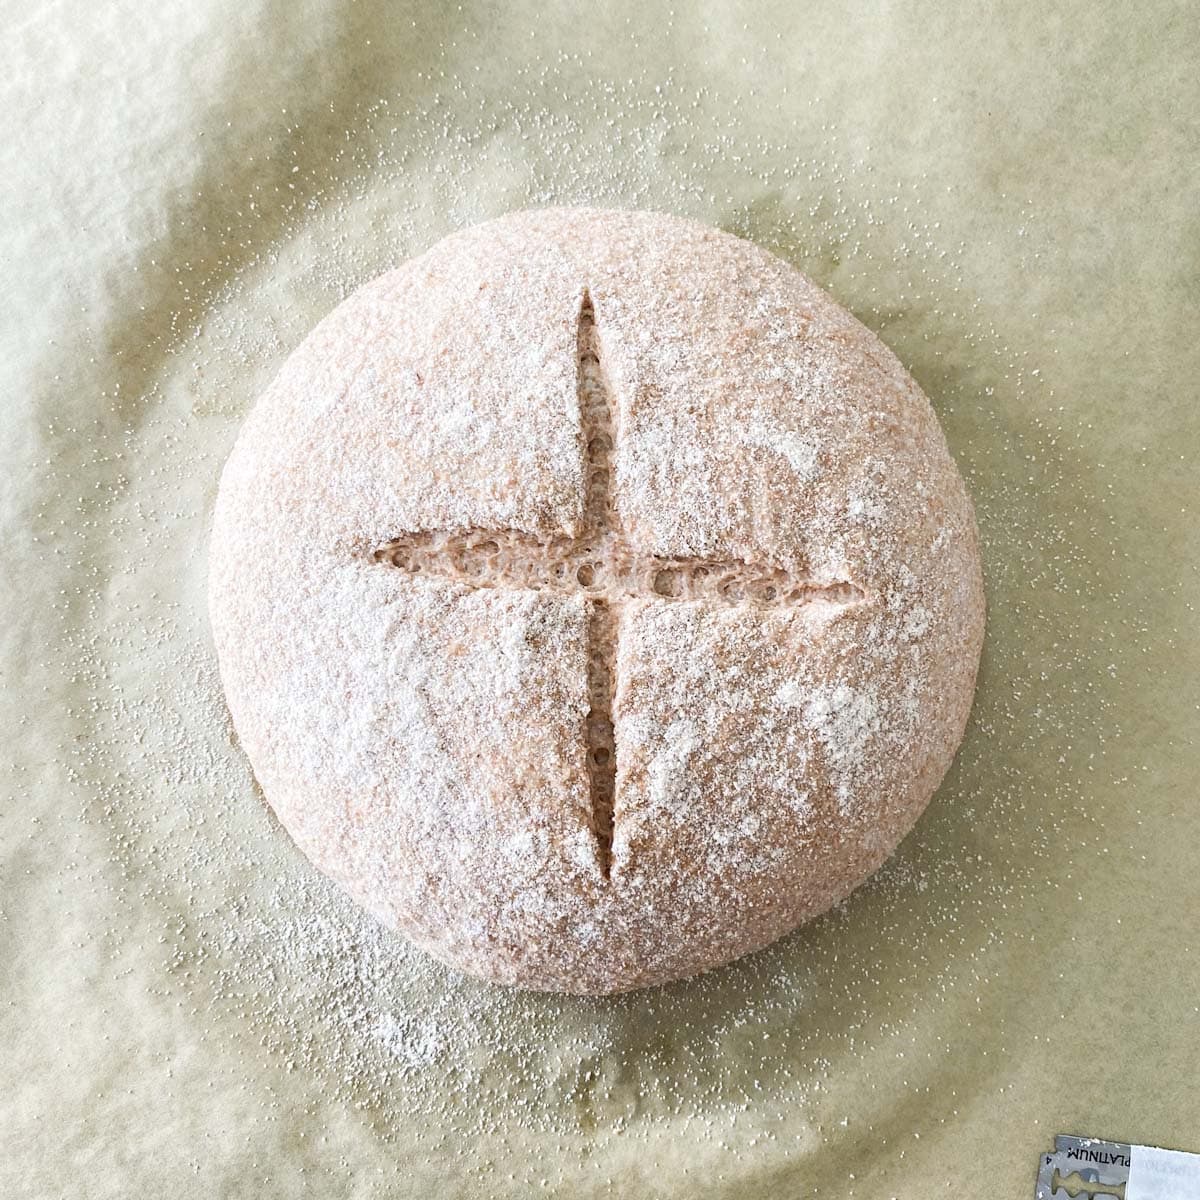
Step 12: When the oven is preheated, dust the top of the dough with a little flour and score the top with a sharp knife or razor blade.

Step 13: Carefully remove the hot pan from the oven, gently transfer the parchment paper with the dough into the pan.
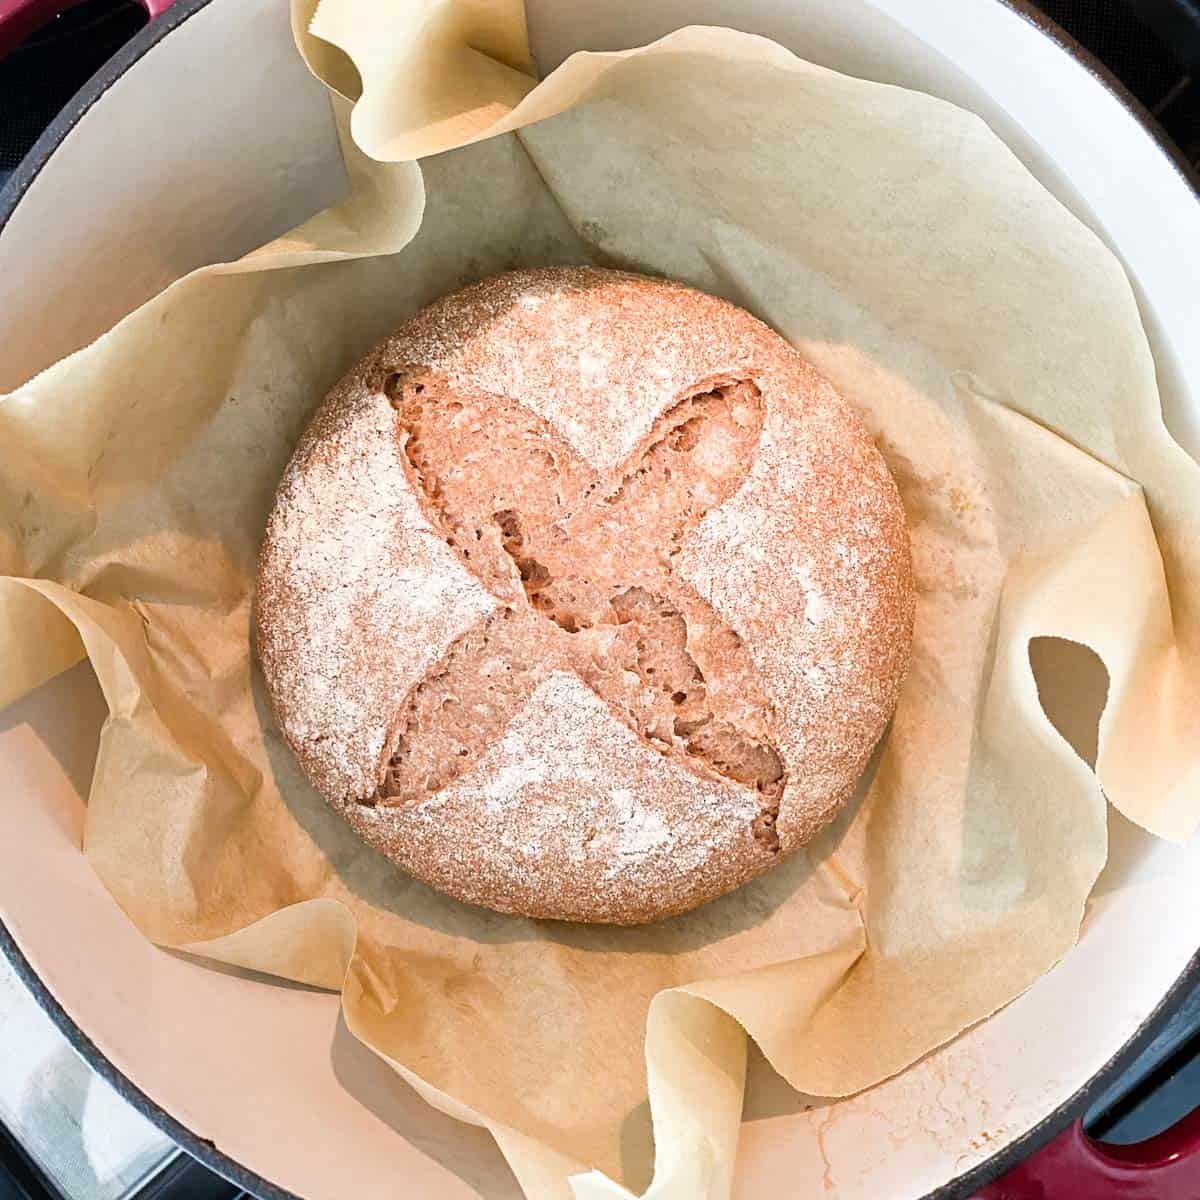
Step 14: Place the lid back on the pan and bake for 20 minutes.

Step 15: Remove the lid and bake for another 20-25 minutes or until the crust is golden brown and the center of the bread reads 195°-200°F on an instant read thermometer.

Step 16: Transfer the loaf to a wire rack to cool. Cool completely before slicing.
Serving Suggestions
There are a lot of ways to enjoy this hearty, whole wheat bread. Some of our favorites are listed below:
- Served alongside soup or stew
- Toasted with a fried egg
- Avocado toast
- Grilled cheese
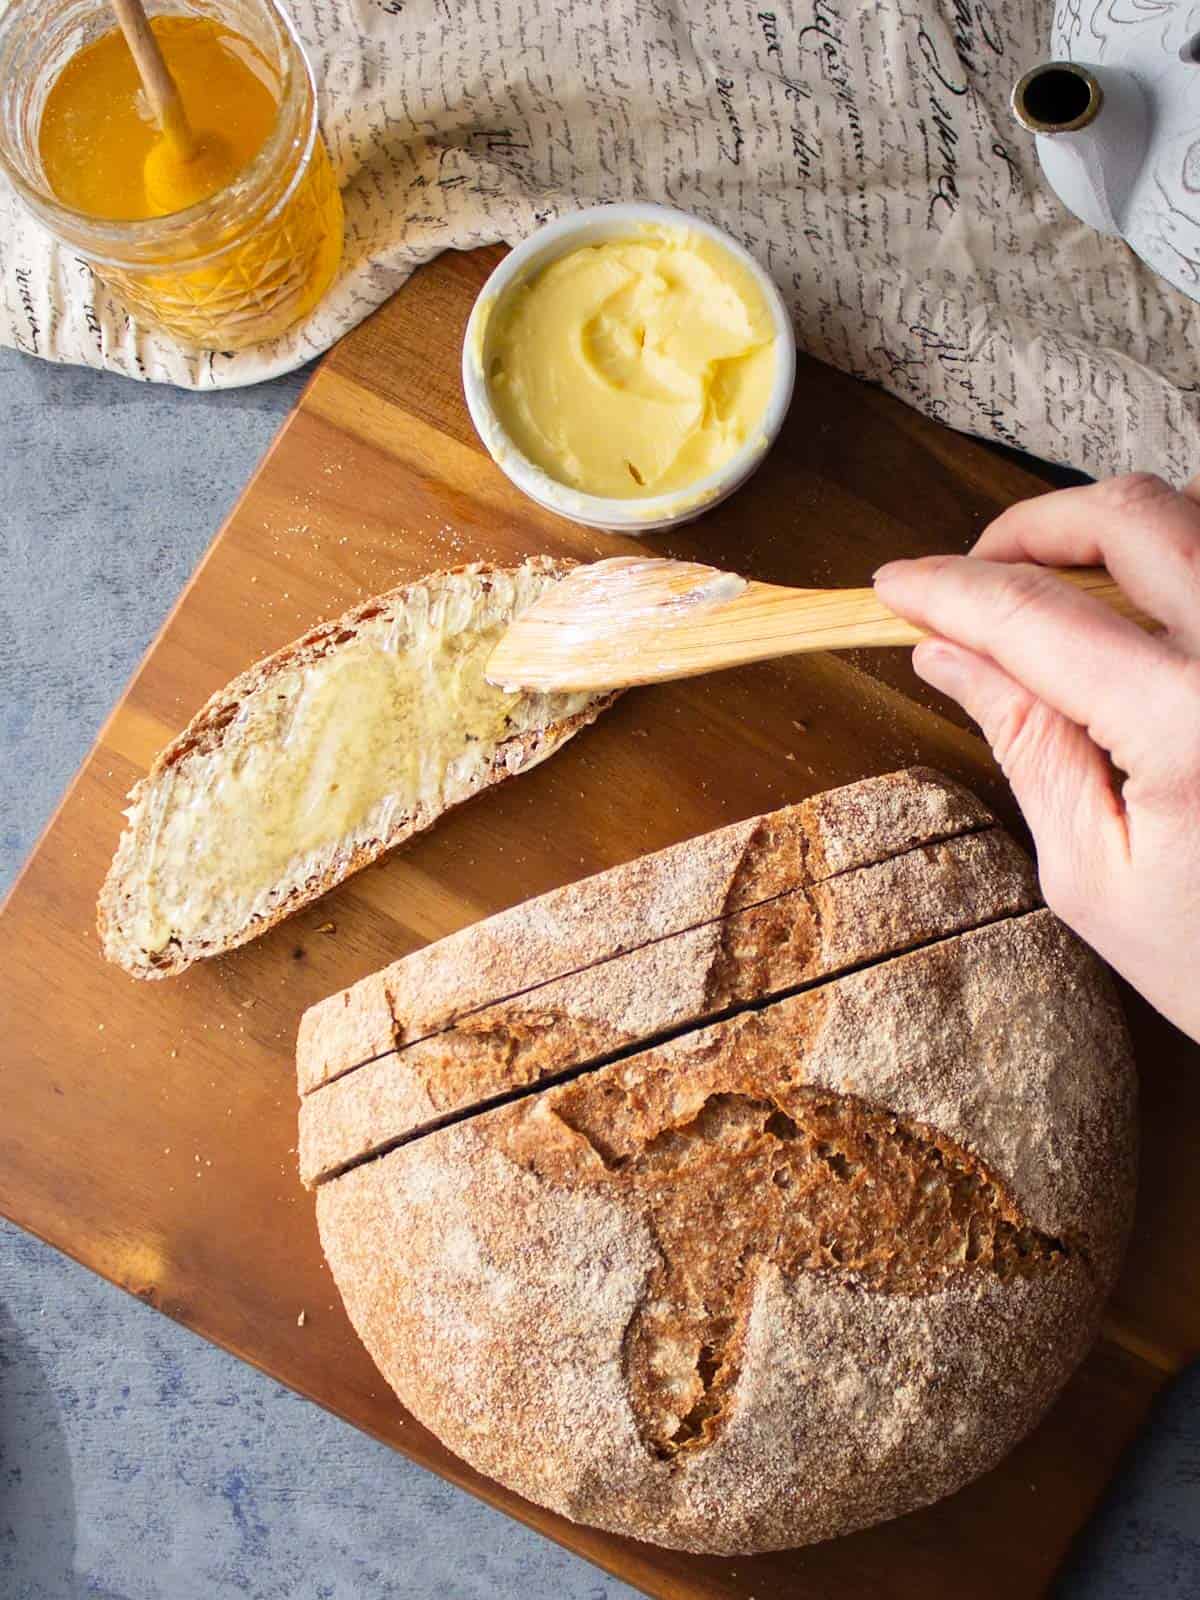
- Warm with butter and jam
- Homemade honey butter
- Sandwiches
Storage
Store the bread wrapped in parchment paper or in a paper bag to preserve the crusty crust. You can store it in a bread bag but the crust will go soft.
This bread molds really fast, usually by the 3rd to 4th day so it is best to eat it quickly or slice and freeze it.
How To Freeze Dutch Oven Bread
You can wrap the whole loaf tightly in plastic wrap or slice the loaf first (easier to use because you can pull out however many slices you want at a time) and place it into a freezer safe bag. Freeze for 3-6 months. Thaw unwrapped and covered loosely at room temperature. Or throw your slices in the toaster for fast thawing.
Tips From Our Kitchen
Use lightly wet hands to avoid the dough sticking to them.
We suggest milling your own flour or buying high quality flour from somewhere that mills in small batches. We don’t recommend using generic whole wheat flour.
FAQ
Too much flour in the dough will make the bread dense. The dough for rustic breads needs to be quite sticky. Using the stretch and fold method (in our recipe) creates air in the dough making the bread lighter.
First, test your yeast to see if it’s still good. If your yeast is good and your bread still isn’t rising it may be that your dough is too wet. If there’s not enough flour in the dough it won’t have enough structure to rise properly and you’ll end up with a flat loaf although probably super light and airy!
Because this is a lean bread, made with only basic ingredients, it can seem like it lacks flavor. You can try adding more salt, or adding a little bit of honey or sugar to the dough.
We have found that gummy bread is usually from baking with the lid on for too long. If you’re dealing with gummy bread, you can try taking the lid off a few minutes earlier in the baking process and making sure to let the loaf cool before slicing.
Related Recipes
📖 Recipe

Rustic Whole Wheat Dutch Oven Bread
Equipment
- 6-8 qt Dutch oven pot with lid
Ingredients
- 1½ cups (360 g) lukewarm water 90-100°
- 1½ teaspoons instant yeast *
- 1 teaspoon sea salt
- 2¾ cups (374 g) hard red wheat flour **
Instructions
- In a large bowl dissolve 1½ teaspoons instant yeast and 1 teaspoon sea salt in 1½ cups lukewarm water .
- Add 2¾ cups hard red wheat flour and stir together until no dry flour remains.
- Cover and let sit for 30 minutes.
- Wet your hand and reach down the side of the bowl, grab a chunk of dough and pull it into the center, repeat around the whole circumference of the dough twice or until the dough starts to have some resistance, this is called stretch and fold. Cover and let sit for 30 minutes.
- Repeat step 4 two more times.
- Do one more stretch and fold. Then turn the dough out onto a lightly floured surface, shape the dough into a ball by gently pulling the edges into the center, similar to stretch and fold.
- Place the dough into a lightly greased bowl, cover and let rise until doubled in size, about 2-3 hours.
- Dump the dough out onto a lightly floured surface, shape into a ball by folding the edges into the center. Turn the dough over and tighten by dragging it toward you with your palms. Handle the dough gently so you don’t deflate all the air bubbles you spent so long creating.
- Place the dough onto a large piece of parchment paper, cover loosely with a tea towel or an upside down large bowl.
- Preheat the oven to 425°F with the rack in the center position. Place a 6-8 qt Dutch oven with a lid into the oven while it preheats.
- When the oven is preheated, dust the top of the dough with flour and score with a sharp knife or razor blade.
- Remove the hot pan from the oven, carefully lift the dough by the corners of the parchment paper and transfer to the pan. Place the lid back on and bake for 20 minutes.
- Remove the lid from the pan and bake another 20-25 minutes or until it has a deep golden brown crust and the internal temperature is 190°-200°F
- Transfer the bread from the pan to a cooling rack.
- For best results, cool completely before slicing.
Notes
Nutrition
We calculate these nutritional facts using an estimate and they can vary drastically between ingredients used and measuring technique. So, they are not intended for medical use.








Did you make this recipe? We would love to hear from you!